3D Project Process : 01
In this post I will be starting working on the prototype based on one of my 2D initial design which is named as “Golem”.

SLIGHT SLIDE - GOLEM - SHOEFIE DESIGNS.

PLAN
——

Beginning with the process I both these slides to work on as a base for my major 3D project.
Next after some experimenting I started painting the rope in acrylic color red which I got from button and boutique shops.
———

After painting the rope I started modeling the slides which I bought, starting with making an outline with help of ink pen.
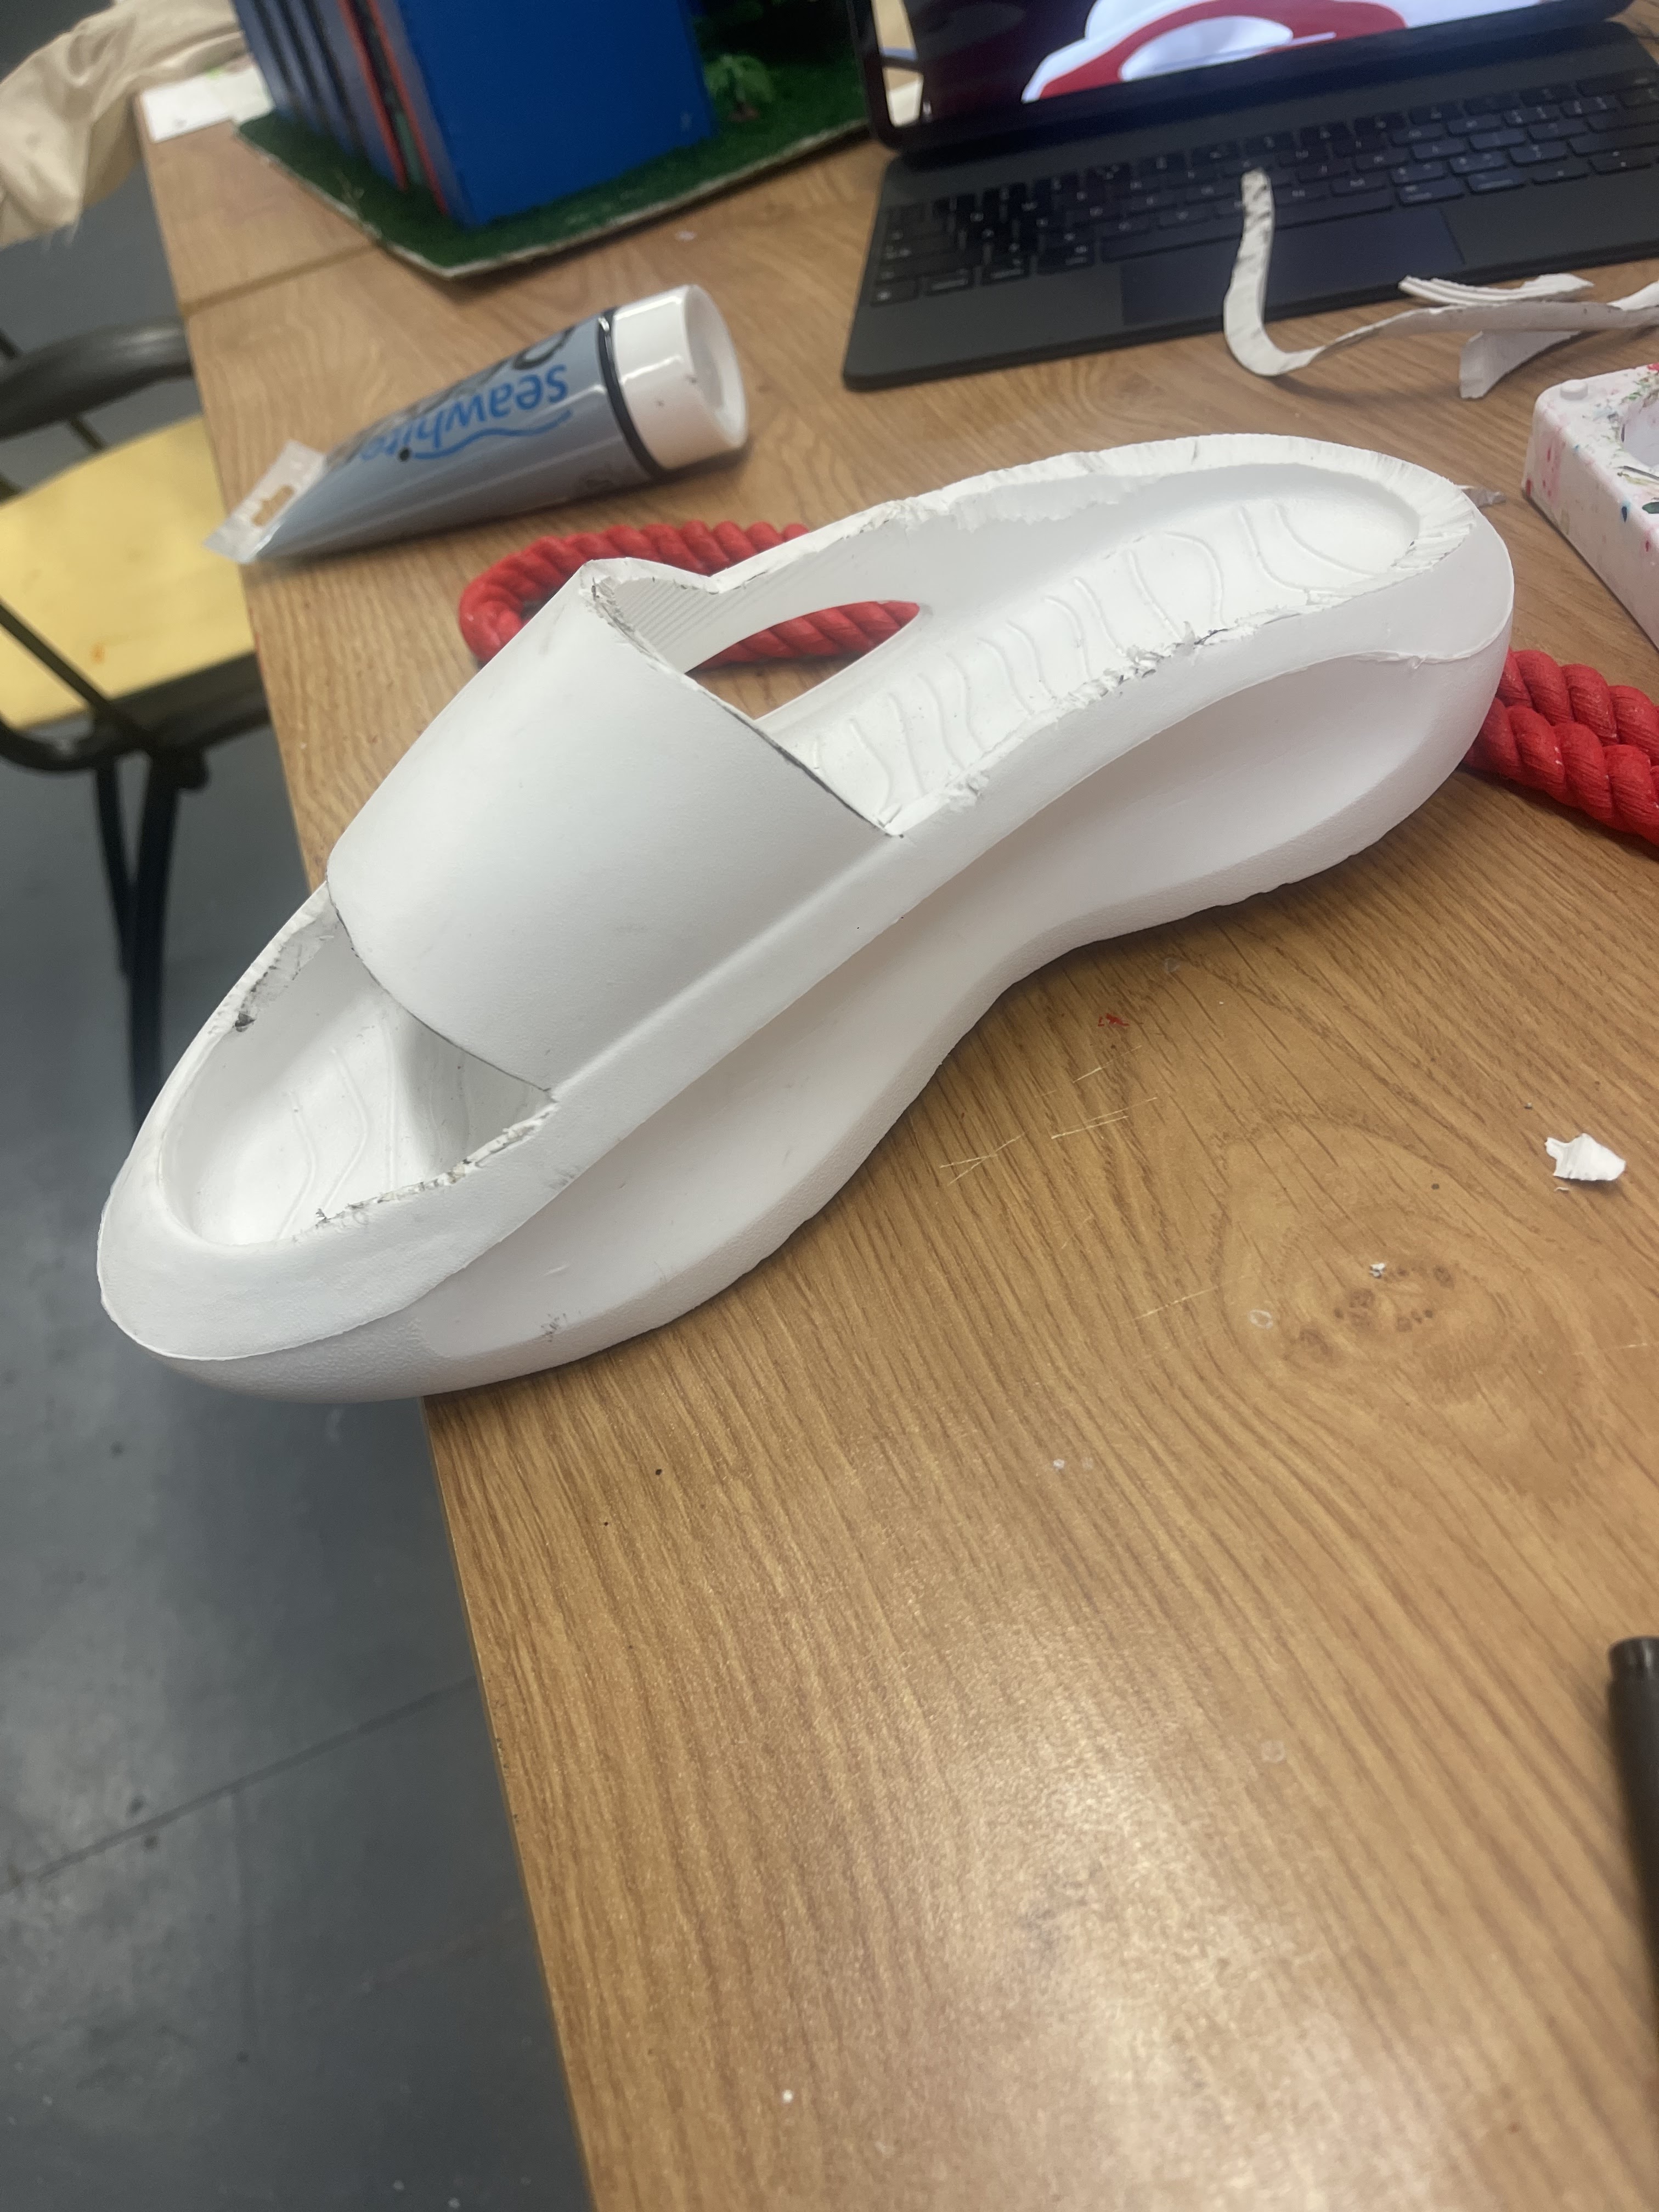
After the cut out the slides looked like these.
This is the process video after making the outline with the help of paper cutter/knife and scissors I started cutting the unnecessary part and made the base relatable to my 2d design And painted it in black And red in the inside.
————

I had ordered this carbon fiber tape for my prototype which I added on my 3D project
The video above is the process shot which I took showing how I worked with the carbon fiber.

The slides looked like this after adding up the carbon fiber tape.
—————

However the edges were not rough and soft curves they were more rough for which the picture above shows how It looked after I reshape it

After refining the edges it came out to look much better than before.
—————

Next the small red rope which I took from button and boutique shops I added the string in between to make it stiff and hard which helped me also to shape it and with the extra wire I stabbed intact with the slide
Process of adding the side string on the slide.

This is how it was looking after getting all 3 strings attached to the slides.
———————————


Good process here - well don - good development shown
ReplyDelete